
Pwnagotchi – WiFi handshake capturing powered by AI
Security has been a growing interest for me for some time now and growing up in the 90’s I have a certain sweet spot for nostalgia. This is why Pwnagotchi peaked my interest. I’ve a’ways wanted to start PenTesting but never knew where to start learning. I finally decided to take the leap into some friendly hacking. Using cheap hardware, you can create your own lightweight WiFi (and Bluetooth) sniffing device. Thanks to a known vulnerability in the WPA/WPA2 protocol, the Pwnagotchi can capture the handshake, which we can then use to crack the passphrase using other tools.
My personal interest in this was largely to test my own WiFi network to ensure my own WiFi wasn’t vulnerable to simple attacks like this. Fortunately, it wasn’t. Working as a developer I deal with security often. Learning how hackers can penetrate networks will help me defend against such attacks.
So what do you need to build your own Pwnagotchi? While it support multiple hardware, I used the following to build mine:

- Raspberry Pi Zero WH (You don’t have to get one with the header if you are comfortable with soldiering one on)
- 8gb SD card
- 2.13in E-ink Display
- A 3D printer to print case (you can buy a case or not use one at all)
- Two MicroUSB cables (one for data and one for power)
- A USB powerbank to power it while on the move.
Once you have all your parts, simply go ahead and flash out the disk image to your SD card by following these instructions.
Since we are using a Waveshare display, we need to make some configuration changes. The configuration file will look something like this:
main.name = "pwnagotchi"
main.lang = "en"
main.whitelist = [
  "EXAMPLE_NETWORK",
  "ANOTHER_EXAMPLE_NETWORK",
  "fo:od:ba:be:fo:od",
  "fo:od:ba"
]

main.plugins.grid.enabled = true
main.plugins.grid.report = true
main.plugins.grid.exclude = [
  "YourHomeNetworkHere"
]

ui.display.enabled = true
ui.display.type = "waveshare_2"
ui.display.color = "black"
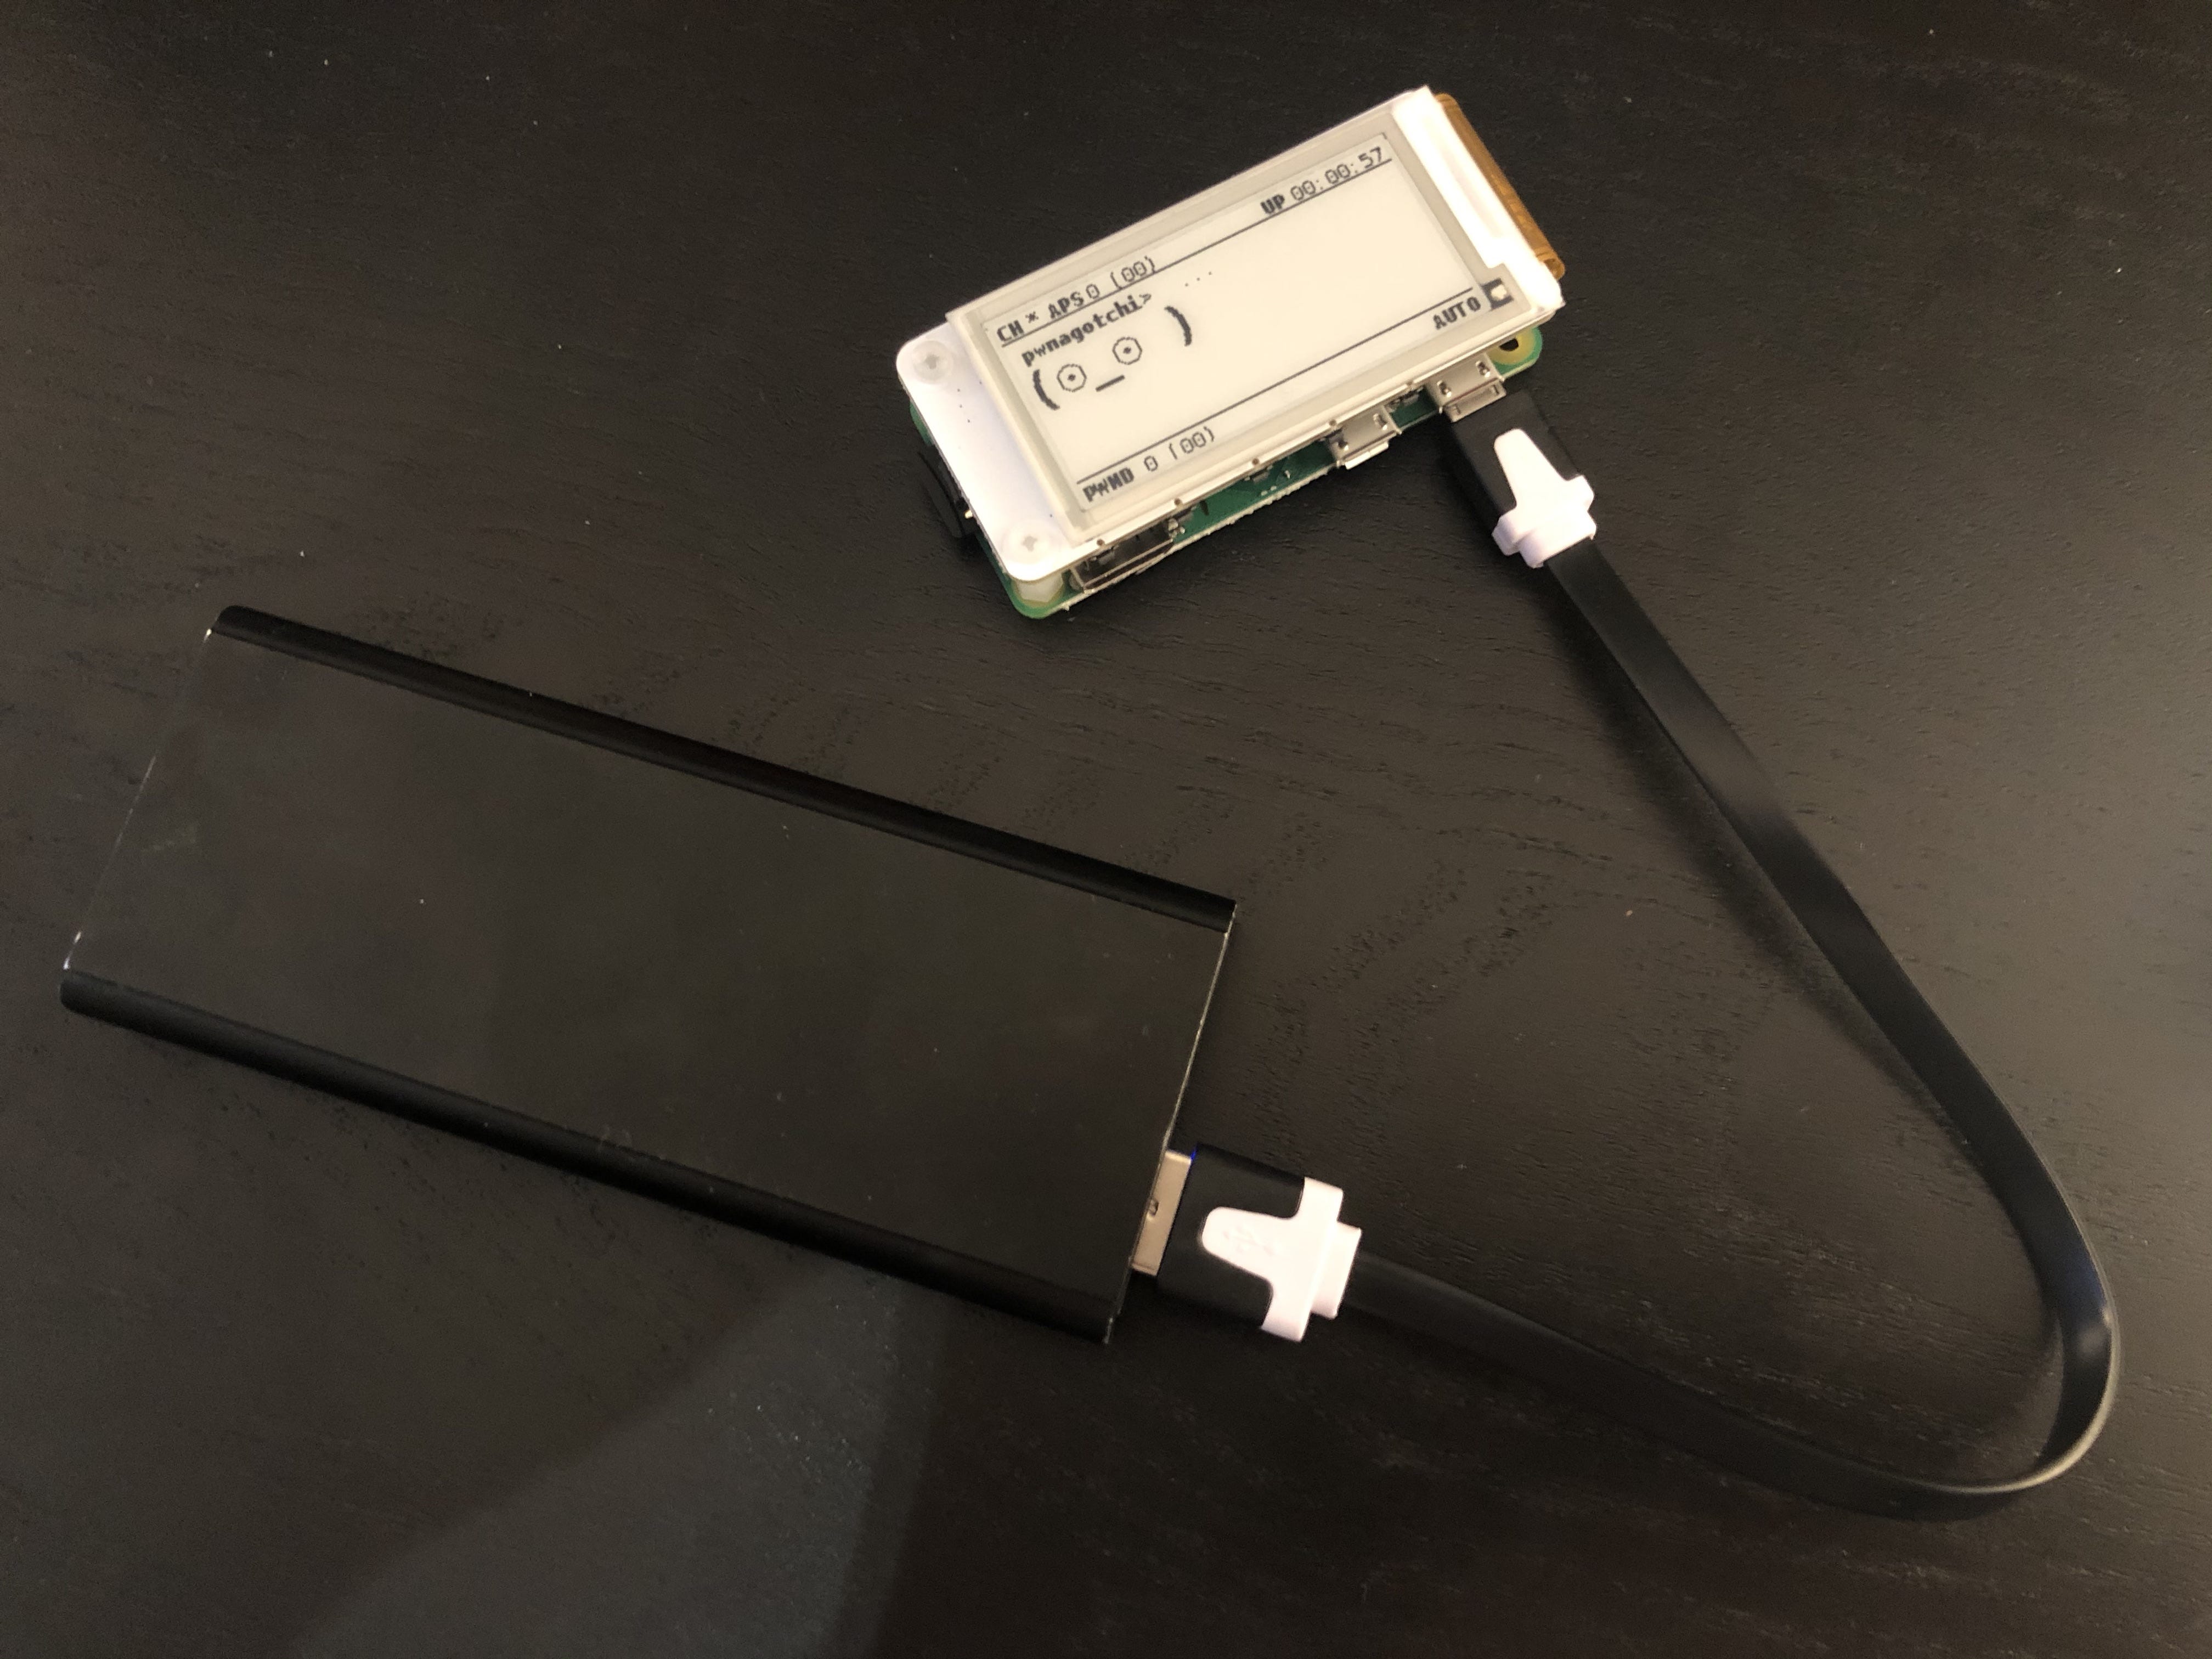
With this done, you should now have your own Pwnagotchi up and running and start showing data on the screen.
Please note that you should leave your device up and running for at least 30 minutes during the first boot for it to get properly configured, as it needs to do a fair bit of processing.
You can see the progress of the Pwnagotchi on the screen. Once it has captured some handshakes, you need to copy the files from the Raspberry Pi for processing, as the Raspberry Pi is nowhere near powerful enough for this. This is why we need our second MicroUSB cable. There are instructions here on how to do this.
With a data connection to your Pwnagotchi established, you should be able to see the .pcap files under /root/handshakes/. Copy these files to your computer (ideally one with a powerful GPU).
We now need to first convert the .pcap file(s) to a .hccapx file(s), as well as downloading the dictionary we want to use to crack the WPA/WPA2 key. You can find details on how to do that here.
( hashcat is available from Homebrew on macOS and is pre-installed in Kali Linux)
If you’ve followed the instructions, you should be able to do this:
Depending on your hardware, this will take 30 minutes to hours. At the end of the result, if you’re lucky (or unlucky), you will see your WiFi passphrase listed.
While we’ve only covered how to capture WPA/WPA2 handshakes in this article, Pwnagotchi is capable of even more. You can read more about that here.
Now that you are armed with all of this information, please use your knowledge responsibly!